 |
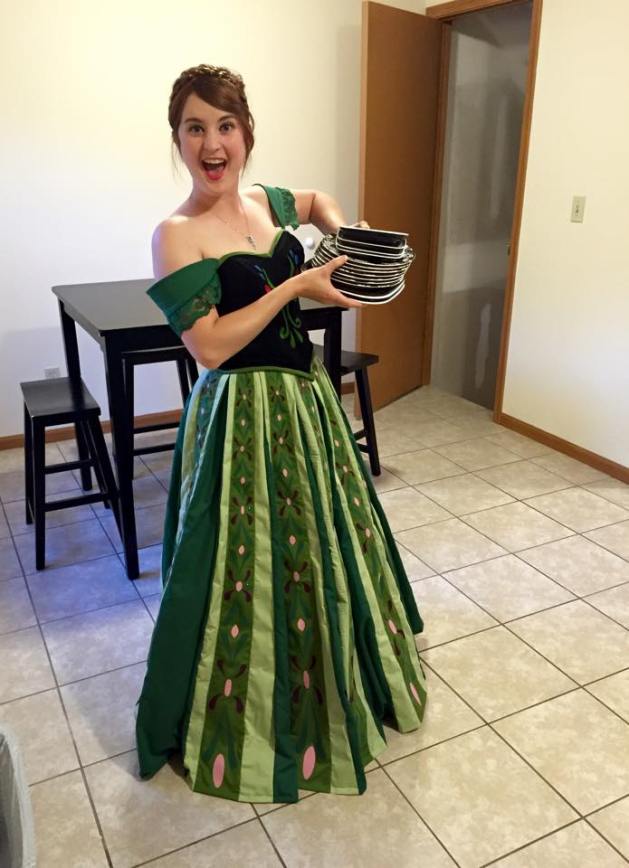
| Finished product with iron-on designs |
Bodice
Following the pattern, I constructed the bodice with black velvet, black lining, boning, and green bias binding (I made myself) for the trim. I used a matching green cotton and decorative lace for the sleeves. I made this dress before I had a machine that could embroider images larger the 4″ so I hand embroidered the design on the bodice. Although, the result is awesome, I accidentally used the concept art bodice design rather than the screen version. OH WELL!
Skirt
Following the pattern, I constructed the skirt with three different colors of green cotton. From what I can remember, this skirt took a while to make, but wasn’t too complicated. Once it was fully completed, I started working on the designs. WOW, this took so much patience and time. I followed the pattern’s technique of tracing the designs onto paper backed fusible webbing, ironed the webbing onto the fabric, used an Xacto knife to cut out the designs from the fabric, then strategically ironed the pieces onto the skirt. The designs looked pretty good, but after a while some of them began to fall off. Later on, once I bought a machine that could embroider larger designs, I took off the iron on pieces and embroidered with the design I bought from this etsy shop. It looks so much better!! 😀
I was also having trouble with the pleats gaping open and just not sitting right, so I used a zigzag stitch going all they way down each side of the decorated panel, onto the inside panel.
Shoes
The easiest part! I bought some black flats at Wal-mart and used gold bias binding around the opening of the shoe. The first time I painted on the design, but once I got my embroidery machine, I embroidered the design onto black fabric and glued it onto the shoes.
Necklace and Hair clip
I bought these from fellow artisans at these etsy stores!
Necklace: fandomrevolution
Hair clip: aishavoya
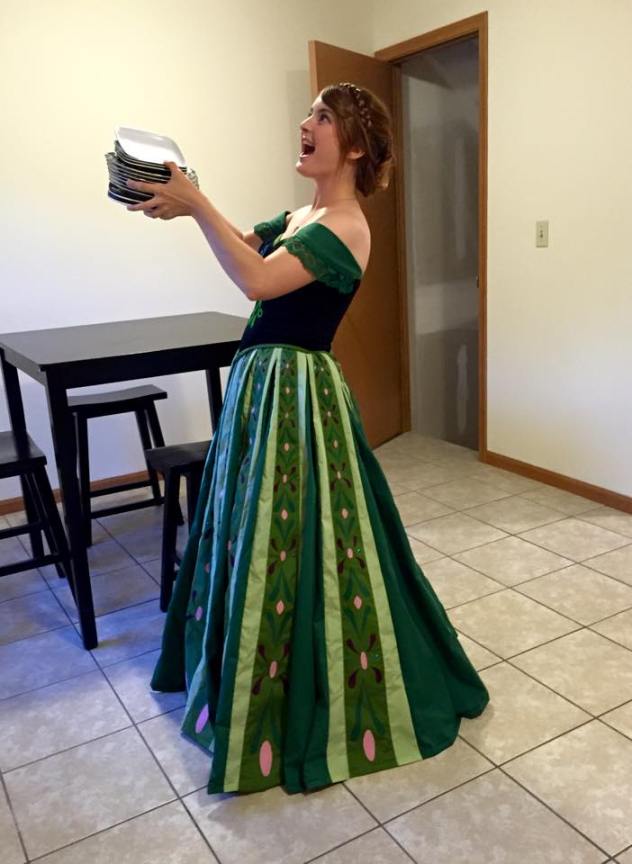 |
| We had a little less than 8,000 salad plates |
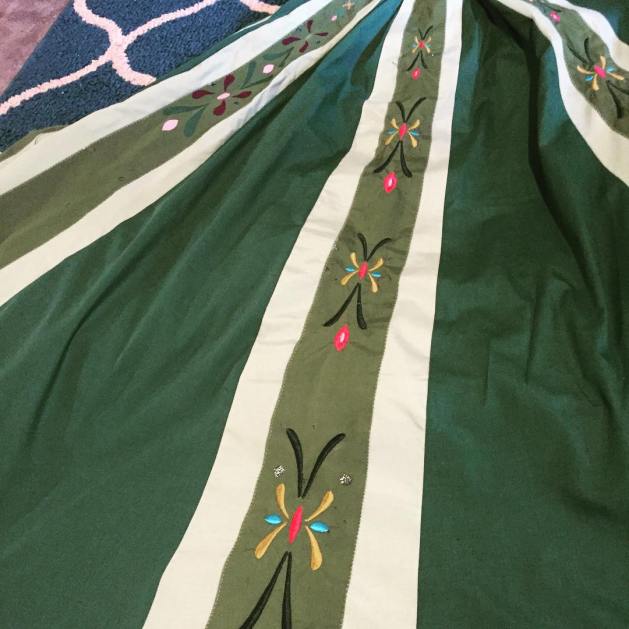 |
| Embroidery! (Never got a pic of me wearing it) |
PHOTO SHOOT TO COME!
No comments:
Post a Comment